Golf Simulator Curved Impact Screen Radius, Arc Length, and Projector Throw Formula: 5 Optical Calculations
Wraparound curved impact screens deliver an unmistakable panoramic field of view (FOV) inside custom home and commercial golf simulator bays, wrapping the fairway around the player's peripheral vision while naturally deflecting off-center ball strikes inward toward the center hitting mat. However, transitioning from a flat rectangular enclosure to a concave cylindrical arc completely changes your room geometry, fabric ordering dimensions, and ceiling projector optics.
If you order impact screen fabric based on flat room width \(W\) rather than true circular arc length \(S\), your screen will fall \(5\text{ to } 14\text{ inches}\) short of the side frames. Worse, if you pair a deep-curve screen with an ultra-short-throw lens whose optical depth of field cannot span the center-to-edge distance differential (the sagitta \(s\)), the center of your 4K image will be tack-sharp while the left and right edges blur out of focus. This engineering guide derives the five exact circular-segment and optical-warping formulas required to design a distortion-free curved simulator bay, and cross-links with our Interactive Golf Simulator Room & Throw Calculator.
Quick Answer & Curved Enclosure Engineering Rules:
- Radius of Curvature (\(R\)): Given bay chord width \(W\) and center curve depth (sagitta \(s\)), the circular arc radius is \(R = \frac{s}{2} + \frac{W^2}{8s}\).
- Single-Projector Sagitta Limit: For a single ceiling-mounted 4K projector using digital grid warping (such as BenQ Corner Fit / Surface Warping or Fly Elise Immersive Display Pro), keep sagitta depth \(s \le 18\text{ inches}\) (\(s/W \le 0.10\)) so the entire arc remains within optical depth of field.
- Optimal Focus Plane (\(D_{\text{focus}}\)): Focus your projector lens at two-thirds of the sagitta depth behind the front chord plane (\(D_{\text{focus}} = D_{\text{chord}} + \frac{2}{3}s\)) to equalize hyperfocal sharpness between center and wings.
1. Circular Segment Geometry: Calculating Radius \(R\), Central Angle \(\theta\), and Arc Length \(S\)
A curved golf simulator impact screen is a vertical cylindrical segment defined by two primary room measurements you control on the floor: the straight-line Chord Width (\(W\)) between the left and right front screen posts, and the Sagitta (\(s\)), which is the perpendicular depth from the front chord line to the deepest center point of the curved screen.
By applying the intersecting chords theorem to a circle of radius \(R\), we derive the exact radius of curvature \(R\), the central subtended angle \(\theta\) (in radians), and the true curved fabric Arc Length (\(S\)):
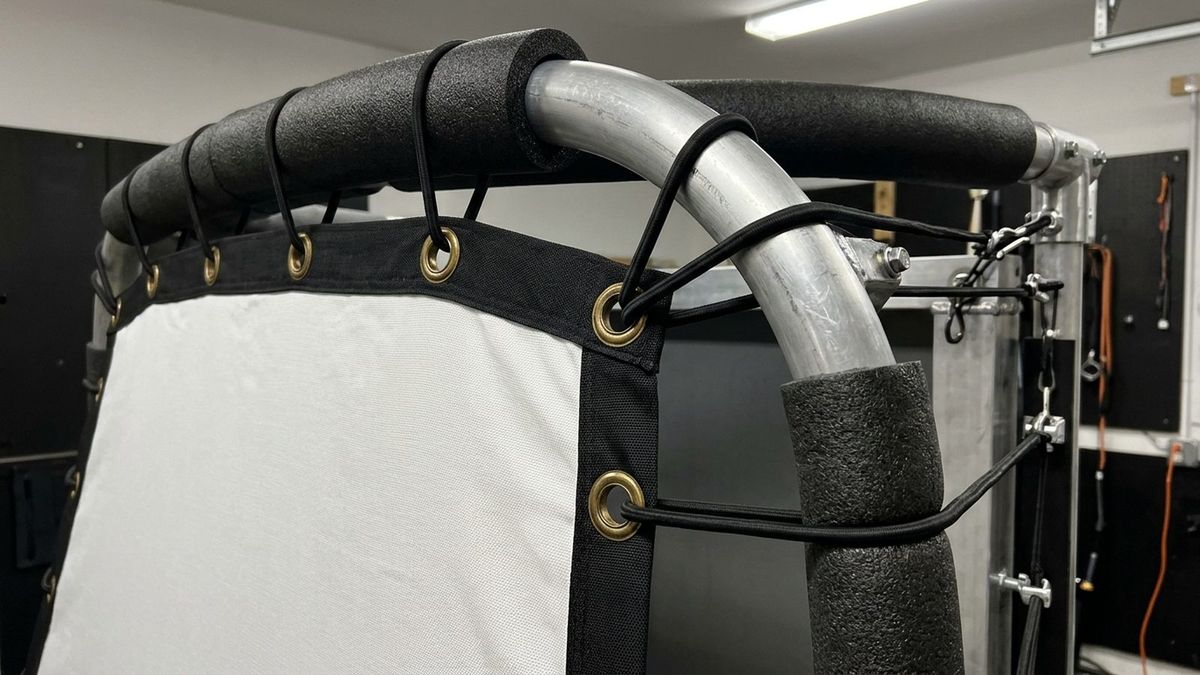
\[ R = \frac{s}{2} + \frac{W^2}{8s} \] \[ \theta = 2 \arcsin\left(\frac{W}{2R}\right) \quad (\text{in radians}), \qquad S = R \cdot \theta \]Subtracting twice the lateral bungee tensioning gap \(g_{\text{bungee}}\) (typically \(2.0\text{ in}\) per side, or \(4.0\text{ in}\) total) yields the exact finished fabric cut width \(W_{\text{fabric}} = S - 2 g_{\text{bungee}}\).
Worked Studio Example: Suppose you are building a \(16\text{-foot}\) wide simulator bay (\(W = 192\text{ in}\)) with a shallow single-projector curve depth of \(s = 18\text{ in}\) (\(1.5\text{ ft}\)):
\[ R = \frac{18}{2} + \frac{192^2}{8 \times 18} = 9 + \frac{36{,}864}{144} = 9 + 256 = 265.0\text{ inches } (22.08\text{ ft}) \] \[ \theta = 2 \arcsin\left(\frac{192}{2 \times 265}\right) = 2 \arcsin(0.36226) = 2 \times 0.37072 = 0.74144\text{ rad } (42.48^{\circ}) \] \[ S = 265.0\text{ in} \times 0.74144\text{ rad} = 196.48\text{ inches } (16\text{ ft } 4.48\text{ in}) \]Notice that the curved arc length \(S = 196.48\text{ in}\) is \(4.48\text{ inches}\) wider than the flat \(192\text{-inch}\) room width. Ordering a standard \(192\text{-inch}\) flat screen without accounting for \(S - W = 4.48\text{ in}\) will over-stretch your bungee loops by \(2.24\text{ in}\) per side and pull the top rail out of cylinder alignment.
2. Projector Throw Distance, Pincushion Bowing & Digital Warping Reserve
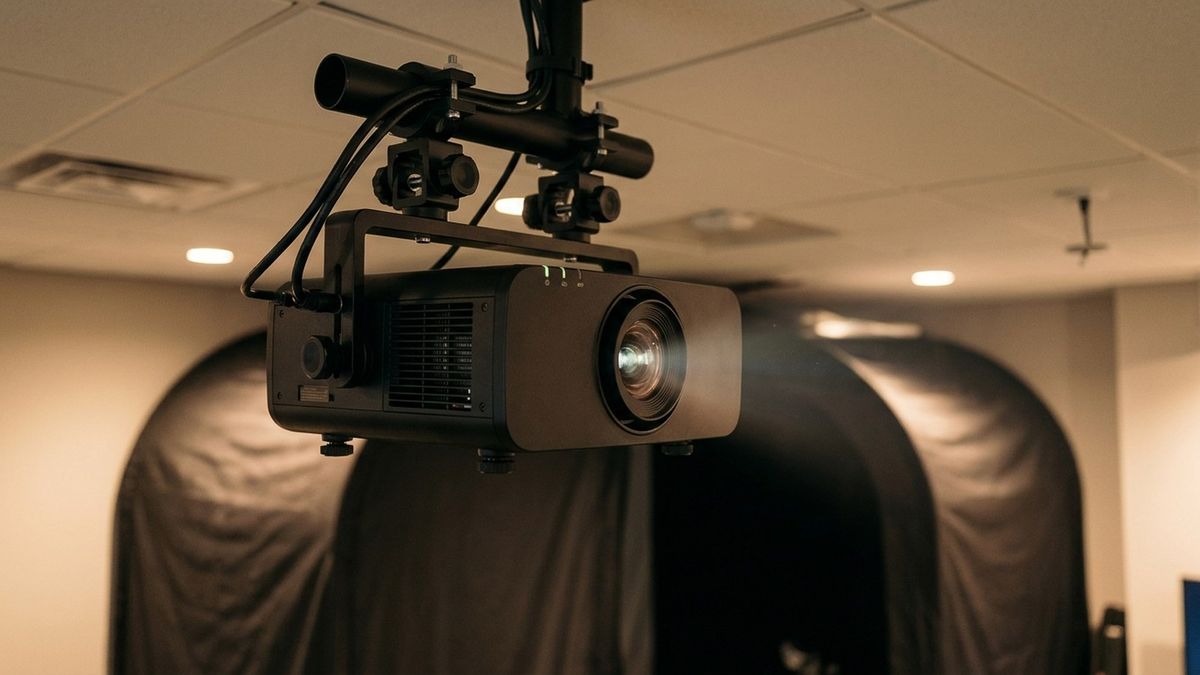
When a ceiling-mounted projector with throw ratio \(\text{TR}\) projects a flat rectangular image onto a concave cylindrical screen, the center of the screen sits at distance \(D_{\text{center}} = D_{\text{chord}} + s\), while the left and right vertical edges sit closer to the lens at \(D_{\text{chord}}\). Because optical image height scales linearly with throw distance, the top-center and bottom-center of the projected image expand vertically relative to the left and right edges—creating a barrel/pincushion bow \(\Delta H_{\text{bow}}\) across screen height \(H\):
\[ H_{\text{center}} = H_{\text{edge}} \cdot \left( \frac{D_{\text{chord}} + s}{D_{\text{chord}}} \right) = H_{\text{edge}} \cdot \left( 1 + \frac{s}{D_{\text{chord}}} \right) \] \[ \Delta H_{\text{bow}} = H_{\text{center}} - H_{\text{edge}} = H_{\text{edge}} \cdot \left( \frac{s}{D_{\text{chord}}} \right) \]To eliminate this vertical bow so the image fits cleanly inside your top and bottom foam valances, your projector's onboard warping grid (or PC warping software) must digitally compress the center vertical height down to \(H_{\text{edge}}\). Consequently, you must set the projector's physical mounting distance \(D_{\text{chord}}\) using the straight chord width \(W\) so the unwarped edges fill the full screen height \(H_{\text{screen}}\):
\[ D_{\text{chord}} = \text{TR} \times W \times (1 - \epsilon_{\text{overscan}}) \]where \(\epsilon_{\text{overscan}} \approx 0.03\) (\(3\%\) safety overscan margin). For our \(W = 192\text{ in}\), \(H = 108\text{ in}\) (\(16:9\)) bay using a \(\text{TR} = 0.78\) projector (BenQ LK936ST set near its wide zoom end at \(0.81\) or an Optoma \(0.75\text{ TR}\) laser unit):
\[ D_{\text{chord}} = 0.78 \times 192\text{ in} \times 0.97 = 145.27\text{ in } (12\text{ ft } 1.3\text{ in from front screen posts}) \] \[ D_{\text{center}} = 145.27\text{ in} + 18.0\text{ in} = 163.27\text{ in } (13\text{ ft } 7.3\text{ in to screen center}) \] \[ \Delta H_{\text{bow}} = 108\text{ in} \times \left(\frac{18.0}{145.27}\right) = 13.38\text{ in total vertical center expansion Warp} \]This means the digital warping grid will pull \(6.69\text{ in}\) of top-center overspray and \(6.69\text{ in}\) of bottom-center overspray inward—consuming roughly \(11.0\%\) of vertical pixel rows, which is why native 4K UHD (\(3840 \times 2160\)) projectors are strongly recommended over 1080p for curved screens.
3. Optical Depth of Field (DoF) & The Two-Thirds Sagitta Focus Rule
Because the projector lens must simultaneously focus on the left/right edges at \(D_{\text{chord}}\) and the center apex at \(D_{\text{chord}} + s\), setting focus dead-center on the golf ball target line leaves the outer edges soft. In geometric lens optics, the rear depth of field behind the focus plane is slightly deeper than the front depth of field ahead of it. To minimize the maximum circle of confusion across the entire arc, set your optical focus ring at the Two-Thirds Sagitta Plane (\(D_{\text{focus}}\)):
\[ D_{\text{focus}} = D_{\text{chord}} + \frac{2}{3} s \]For \(D_{\text{chord}} = 145.3\text{ in}\) and \(s = 18.0\text{ in}\), focus the projector on a target placed at \(D_{\text{focus}} = 145.3 + 12.0 = 157.3\text{ in}\) (visually corresponding to the left and right intermediate third-points of the curved screen, \(48\text{ inches}\) off the center line).
4. Curved Screen Lookup Table (12 ft to 18 ft Bay Widths)
| Bay Chord Width (\(W\)) | Sagitta Depth (\(s\)) | Arc Radius (\(R\)) | Subtended Angle (\(\theta\)) | True Arc Length (\(S\)) | Recommended Projector Config |
|---|---|---|---|---|---|
| \(144\text{ in}\) (\(12\text{ ft}\)) | \(12\text{ in}\) (\(1.0\text{ ft}\)) | \(222.0\text{ in}\) (\(18.5\text{ ft}\)) | \(37.85^{\circ}\) | \(146.65\text{ in}\) (\(+2.65\text{ in}\)) | Single 4K Projector (\(\text{TR } 0.72\text{–}0.82\)) |
| \(168\text{ in}\) (\(14\text{ ft}\)) | \(15\text{ in}\) (\(1.25\text{ ft}\)) | \(242.7\text{ in}\) (\(20.2\text{ ft}\)) | \(40.50^{\circ}\) | \(171.54\text{ in}\) (\(+3.54\text{ in}\)) | Single 4K Projector (\(\text{TR } 0.75\text{–}0.85\)) |
| \(192\text{ in}\) (\(16\text{ ft}\)) | \(18\text{ in}\) (\(1.5\text{ ft}\)) | \(265.0\text{ in}\) (\(22.1\text{ ft}\)) | \(42.48^{\circ}\) | \(196.48\text{ in}\) (\(+4.48\text{ in}\)) | Single 4K Projector (\(\text{TR } 0.75\text{–}0.85\)) |
| \(192\text{ in}\) (\(16\text{ ft}\)) | \(30\text{ in}\) (\(2.5\text{ ft}\)) | \(168.6\text{ in}\) (\(14.1\text{ ft}\)) | \(69.43^{\circ}\) | \(204.33\text{ in}\) (\(+12.33\text{ in}\)) | Dual Edge-Blended Projectors (\(15\%\) overlap) |
| \(216\text{ in}\) (\(18\text{ ft}\)) | \(36\text{ in}\) (\(3.0\text{ ft}\)) | \(180.0\text{ in}\) (\(15.0\text{ ft}\)) | \(73.74^{\circ}\) | \(231.66\text{ in}\) (\(+15.66\text{ in}\)) | Dual/Triple Edge-Blended Projectors |
5. Hitting Mat Tee Placement & Acoustic Focal Point Prevention
One hidden acoustic and safety hazard of a circular curved screen is the parabolic focal point at \(D = R\) (and optical mirror focus at \(R/2\)). If you place your tee at or near the center of curvature \(R\), both golf ball impact noise (\(102\text{ dB}\)) and direct ball rebound vectors focus directly back at the golfer's ears and body. Always position your tee line at \(D_{\text{tee}} = 9\text{ ft to } 11\text{ ft}\) (\(108\text{ to } 132\text{ in}\)) from the screen apex—well inside the \(R = 222\text{ to } 265\text{ in}\) radius of curvature—so off-center strikes deflect harmlessly across the mat rather than focusing on the player.
Calculate Your Exact Curved Screen Throw & Room Clearances
Plug your room width, ceiling height, and projector throw ratio into our interactive fitting calculator to verify your mounting distance and hitting zone offsets in seconds.
Open the Golf Launch Monitor & Room Fitter Calculator →